How to Activate eSIM on iPhone: A Traveler's Guide

How to Activate eSIM on iPhone: A Traveler's Guide
Getting a new digital SIM running on your iPhone is much simpler than it sounds. Most of the time, you can be up and running in just a few minutes by scanning a QR code from your provider.
The whole process starts in your iPhone's settings—specifically Settings > Cellular > Add eSIM—as long as your phone is unlocked and connected to Wi-Fi.
Your Quick Guide to Activating an iPhone eSIM
Before you dive in, it helps to know the two main ways you can activate an eSIM. Your choice really just depends on what your carrier gives you. One method is incredibly fast, and the other is a reliable backup. Knowing the difference will get you connected without any guesswork.
The Two Main Activation Methods
By far, the most common way to set up an eSIM is by scanning a QR code. This is especially true for travel eSIMs from providers like Roamiya. It's almost instant—you point your camera at the code, and your iPhone handles the rest. It's perfect for when you land in a new country and just need data to work now.
The alternative is manual activation. This is your go-to if the QR code isn't working, you can't scan it for some reason, or you just prefer to type things in yourself. Your provider will give you a couple of codes to enter. It takes a moment longer, but it's just as effective.
Pro Tip: Always try the QR code first. It's built for speed. Just keep the manual details handy in case you hit a snag, like bad lighting that prevents a clean scan or a smudged camera lens.
iPhone eSIM Activation Methods at a Glance
This table breaks down the two primary ways to get your eSIM working on your iPhone.
| Activation Method | Best For | Typical Time | What You Need |
|---|---|---|---|
| QR Code Scan | Instant travel data, speed, and convenience. | 1-2 minutes | A stable Wi-Fi connection and the QR code from your provider. |
| Manual Entry | Backup situations or when a QR code isn't provided. | 3-5 minutes | Wi-Fi and the SM-DP+ Address and Activation Code from your provider. |
Ultimately, both paths lead to the same result: a working eSIM on your iPhone. The QR code is just the faster, more automated route.
Getting Your iPhone Ready for a New eSIM
Before you jump into installing a new eSIM, a few quick checks can save you from the most common setup headaches. Think of it as the prep work you do before a big trip—getting the basics right from the start is the key to a smooth, frustration-free activation.
The single most important step? Confirming your iPhone is carrier unlocked. An unlocked phone isn't tied to a specific carrier, which means it's free to accept an eSIM from a provider like Roamiya. If your phone is locked, it simply won't work with a new eSIM. It's a deal-breaker.
Check Your Carrier Lock Status
You can figure this out in about ten seconds.
Just go to Settings > General > About. Scroll down a bit until you see the "Carrier Lock" field. If it says "No SIM restrictions," you're good to go. If it shows anything else, you'll need to contact your original carrier and ask them to unlock it before you can proceed.
Once you've confirmed your iPhone is unlocked, there are just two other small but vital things to sort out.
- A stable Wi-Fi connection: Your iPhone needs internet access to download and install the eSIM profile. Make sure you're connected to a reliable Wi-Fi network before you start.
- An updated iOS: It's always a good idea to have your iPhone running the latest version of iOS. This ensures it's compatible with the newest eSIM features and security updates. You can find more details in our device compatibility guide.
This simple flowchart helps visualize that first, critical step for any iPhone eSIM setup.
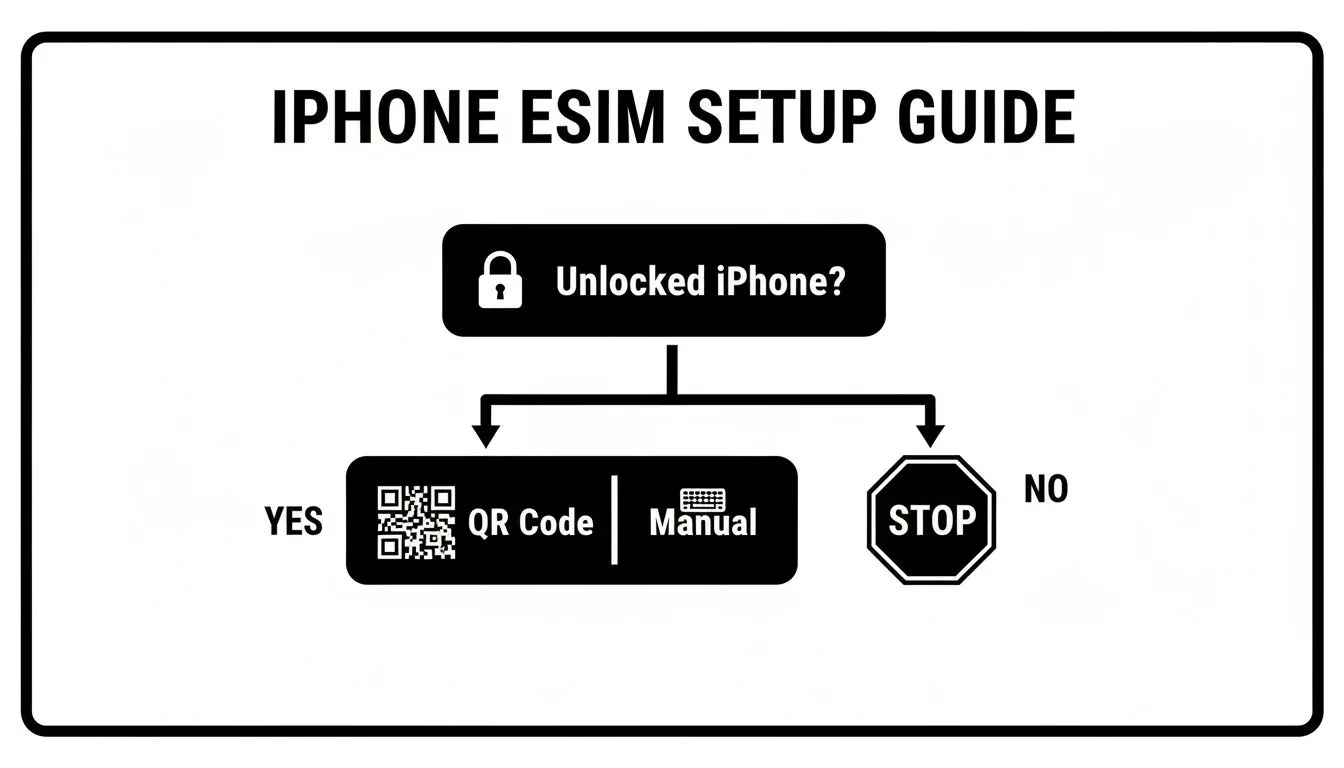
As the chart shows, having an unlocked iPhone is the non-negotiable starting point. The global shift to this technology is undeniable—the eSIM market hit $11.93 billion in 2024, with North America leading the charge thanks to high iPhone adoption.
Activating Your eSIM with the QR Code Method
Using a QR code is, by far, the most common and painless way to get a travel eSIM running on your iPhone. It's what most providers, including Roamiya, use to get your data plan to you instantly.
Think of it this way: instead of a fiddly technical process, it's just a simple point-and-scan. It's perfect for that real-world travel moment, like when you're standing at the baggage carousel and want to get your data working before you even leave the airport.
You'll get the QR code in your email right after you buy a plan. The only catch? You need to have that code ready on a separate screen—a laptop, a tablet, a friend's phone, or even a printout works. You can't scan a QR code that's on your own phone's screen, after all. Once you have it ready, the whole thing takes maybe two minutes.
Finding the Right Settings
First, you've got to get to the right screen on your iPhone. This is where the activation happens.
- Open the Settings app.
- Tap on Cellular (or Mobile Data in some regions).
- Choose Add eSIM.
This little sequence takes you to the starting line, where your iPhone will ask how you want to add your new plan. From here, you're just one tap away.
Scanning and Confirming Your New Plan
Once you're on the "Add eSIM" screen, you'll see an option to Use QR Code. Give that a tap, and your iPhone's camera will pop up, ready to scan.
Now, just point your camera at the QR code your eSIM provider sent you.
Hold the phone steady, and it should recognize the code almost immediately. A little message will appear saying something like, "A cellular plan from [Carrier Name] is ready to be added to iPhone." Just tap Continue, and your phone will do the rest, connecting to the network to download your new eSIM profile.
This part of the process requires a stable Wi-Fi connection. Your iPhone has to connect to the internet to download the digital SIM profile from the carrier's server and get it installed.
After the eSIM is downloaded, your iPhone will walk you through the last couple of steps. This is a crucial part of the setup where you get to organize your new line.
Labeling Your eSIM for Easy Management
With an eSIM installed, your iPhone is officially a dual-SIM device. Keeping your lines straight is key to avoiding confusion and, more importantly, surprise charges from your home carrier.
During the final setup steps, you'll be prompted to create a custom label for your new eSIM. Don't just skip this—it's your chance to give it a memorable name that makes sense to you.
Some practical examples I've used:
- Europe Trip
- Roamiya Data
- Japan Travel
Picking a clear label like "Roamiya Data" makes it dead simple to see which line is which when you're managing settings for calls, texts, and cellular data. After you've labeled it, your new eSIM is officially active and ready for you to configure.
If you want a more detailed walkthrough with extra tips, you can always check out our complete iOS installation guide.
Using Manual Activation When a QR Code Fails
Sometimes, technology just doesn't play nice. Your iPhone's camera might refuse to focus in a dimly lit airport terminal, or maybe you don't have a second screen handy to display the QR code. It happens.
When the slick QR scan method lets you down, there's a reliable backup plan that always works: manual activation. It sounds way more technical than it is—you're just copying and pasting a couple of details from your provider into your iPhone's settings. It takes a minute longer, but it's a foolproof way to get connected.
Finding Your Manual Activation Details
First, you'll need two key pieces of information from your eSIM provider. These are almost always in the same email that contained your QR code. Don't worry about the technical-sounding names; you just need to find them.
- SM-DP+ Address: This is a long string of text that basically tells your phone which server to talk to for your eSIM profile.
- Activation Code: This is another code, sometimes paired with an optional Confirmation Code, that identifies your specific plan.
Once you have these details ready to copy, it's time to head back into your iPhone's settings.
Entering Your Details Manually
Go to Settings > Cellular > Add eSIM. Instead of pointing your camera at a QR code, look for a small link at the bottom of the screen that says Enter Details Manually. Tap that, and you'll see a few empty fields.
This is where you'll paste the information you just located.
- Copy the SM-DP+ Address from your provider's email and paste it into the matching field on your iPhone.
- Next, do the same for the Activation Code.
- If your provider also gave you a Confirmation Code, paste that in as well. If not, just leave it blank.
Important Note: This is all about accuracy. Double-check that you've copied each address and code perfectly, without any extra spaces at the beginning or end. A single typo will stop the activation in its tracks.
After pasting the details, tap Next. Your iPhone will connect to the server using the information you provided and download the eSIM profile, doing the exact same job the QR code would have. From there, you'll be prompted to label your new plan (like "Roamiya Travel") and finish the setup.
This whole process is a fantastic fallback, ensuring a fussy camera or the lack of a second screen never stops you from getting online. For a screen-by-screen visual walkthrough, our guide on manual activation process can give you some extra clarity.
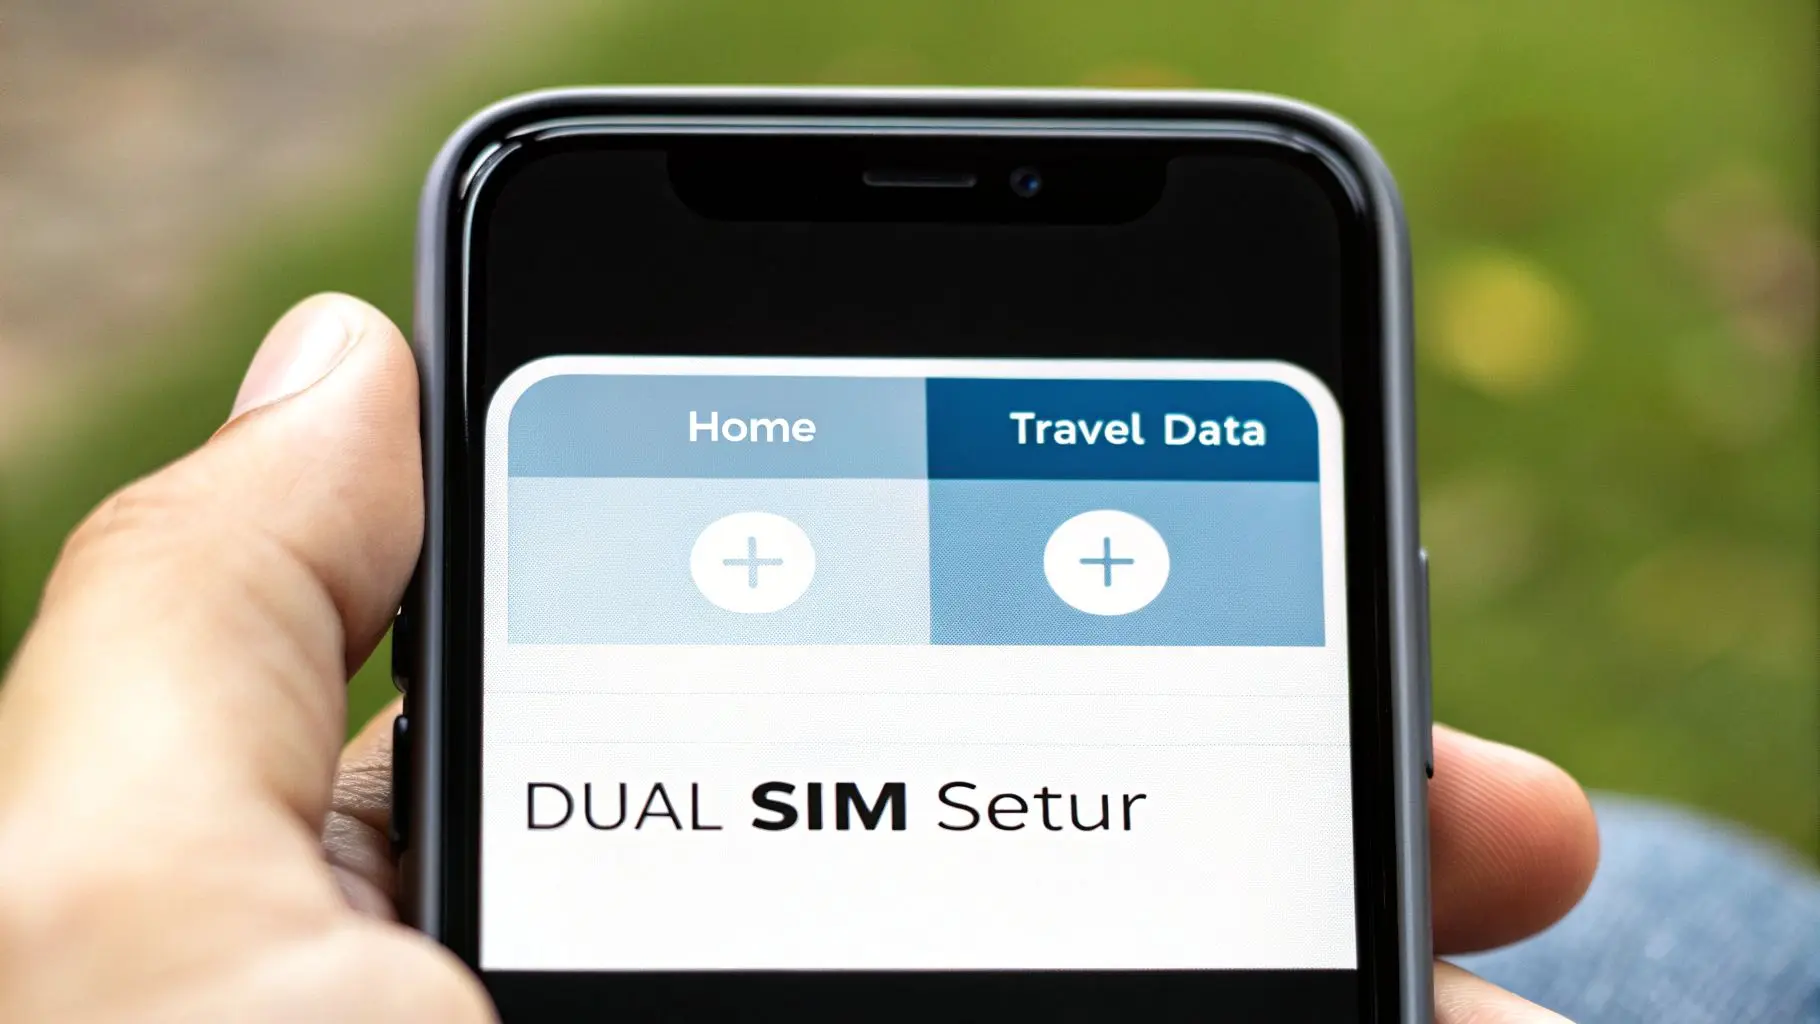
Managing Your Dual SIM Settings for Travel
Getting your travel eSIM installed is the first big win, but the real magic happens when you tell your iPhone exactly how to use it. Smart management is what stands between seamless, cheap data and surprise roaming charges from your home carrier. This next part is all about configuring your dual SIM settings for stress-free travel.
The moment you activate a second line, your iPhone becomes a dual SIM device. To avoid confusion later, the first thing I always do is label the plans. Go into Settings > Cellular and you'll see both your primary plan and your newly added eSIM. Tap on each one and give it a clear Cellular Plan Label.
Simple labels I always use:
- Primary Line: I rename this to "Home" or "My Number."
- Travel eSIM: I label this with something descriptive like "Roamiya Data" or "Europe Trip."
This takes ten seconds but makes managing calls, texts, and data incredibly intuitive down the line.
Assigning Roles to Each Line
With your lines clearly labeled, you can now set their specific jobs. Your iPhone will ask you to choose a Default Line for calls and messages. For most travelers, setting this to your "Home" line is best. This ensures your friends and family can still reach you on your regular number without any fuss.
Next comes the most important setting for avoiding fees: Cellular Data.
In that same menu, you must switch your Cellular Data line to your new travel eSIM (e.g., "Roamiya Data"). This single action tells your iPhone to use the affordable local data plan for all internet-related activities—maps, browsing, apps—while preventing your home plan from connecting to pricey data networks abroad.
Crucial Step: After setting your travel eSIM for data, you need to go into its specific settings (Settings > Cellular > [Your Travel eSIM Label]). Make sure Data Roaming is turned ON for this line. It sounds counterintuitive, I know, but for most travel eSIMs, this is required to connect to local partner networks in the country you're visiting.
The ease of this process has fueled incredible growth. Since Apple's 2022 US eSIM-only mandate, global eSIM connections have soared, with projections showing they will account for 50% of all smartphone links by 2028.
Fine-Tuning Your Contact-Specific Settings
For even more control, you can decide which SIM to use for specific contacts. When you call or message someone from your contacts list for the first time after adding the eSIM, your iPhone lets you choose whether to use your "Home" or "Travel" line for that person.
This is really useful if you need to make a local call in your destination country—perhaps to a hotel or restaurant. Just select your travel eSIM for that one call to use its local calling features if they are included. This level of granular control is what makes dual SIM functionality on an iPhone so powerful for travelers.
Troubleshooting Common iPhone eSIM Issues
Even the smoothest tech can hit a bump, and eSIM activation is no exception. When things go sideways, it's usually one of a few common culprits—and the fix is almost always simple. Knowing what to look for can turn a moment of frustration into a quick solution.
The most frequent error message you'll see is "Unable to Activate eSIM." This generic-sounding alert often points to one of two things: a flaky Wi-Fi connection or a carrier-locked iPhone.
Before you do anything else, check your Wi-Fi signal. Your iPhone needs a stable connection to download the eSIM profile. If that's solid, the next thing to verify is your phone's lock status. Go to Settings > General > About and look for "No SIM restrictions."
Another classic problem is a QR code that just refuses to scan. This happens for a few mundane reasons:
- A dirty camera lens: Give your camera a quick wipe with a soft cloth.
- Poor lighting: Move to a brighter area to help your camera focus.
- Screen glare: Try adjusting the brightness or angle of the screen displaying the code.
If it still won't work after a couple of tries, don't waste any more time—just switch to the manual input method.
When Your eSIM Is Installed But Not Connecting
Sometimes the installation goes off without a hitch, but you still can't get online. This almost always means a setting is out of place.
Head to Settings > Cellular, tap on your new travel eSIM, and make sure Data Roaming is toggled on. It sounds counterintuitive, but many travel eSIMs require this setting to connect to local partner networks abroad.
Since Apple first introduced eSIM support with the iPhone XS back in 2018—and later went all-in with eSIM-only models in the US—global adoption has been massive. Experts now predict that by 2028, a full 50% of all smartphone connections worldwide will be on eSIM.
This rapid shift makes it more important than ever to know how to activate an eSIM on your iPhone and fix the little issues that pop up along the way.
iPhone eSIM Activation Questions Answered
Still have a few questions buzzing around before you activate your first travel eSIM on your iPhone? Good. It's better to be sure. Let's clear up the common things travelers wonder about.
One of the first questions is always about your primary phone number. "Will I lose my normal number if I install an eSIM?" Absolutely not. Think of an eSIM as just adding a second data line to your phone; it doesn't touch or replace your home plan. You can keep your main number active for calls and texts while using the eSIM for all your mobile data.
Do I Need an App to Activate My eSIM?
This is a common misconception. For most modern eSIMs, including all plans from Roamiya, you do not need to download a separate app. The entire process is handled right inside your iPhone's settings. You just scan a QR code or pop in a few details manually. It's quick, clean, and app-free.
A heads-up on something that catches people out: you need a solid Wi-Fi connection for the initial setup. Your iPhone has to connect to the internet to download the digital SIM profile from the carrier's server and get it installed.
Finally, what about sharing that sweet, affordable travel data with your other gadgets?
- Personal Hotspot: Yes, the vast majority of travel eSIMs support personal hotspots (tethering).
- Always Check First: It's smart to confirm this feature is included in the specific plan you buy. It can be a real lifesaver when you need to get your laptop or tablet online in a pinch.
This kind of flexibility is exactly why an eSIM is such a powerful tool for staying connected wherever you land.
Ready to travel without the hassle and cost of roaming fees? Roamiya offers instant eSIM data plans for 160+ countries, with activation in minutes. Get your plan today and connect the moment you land. Find your perfect travel data plan →
